
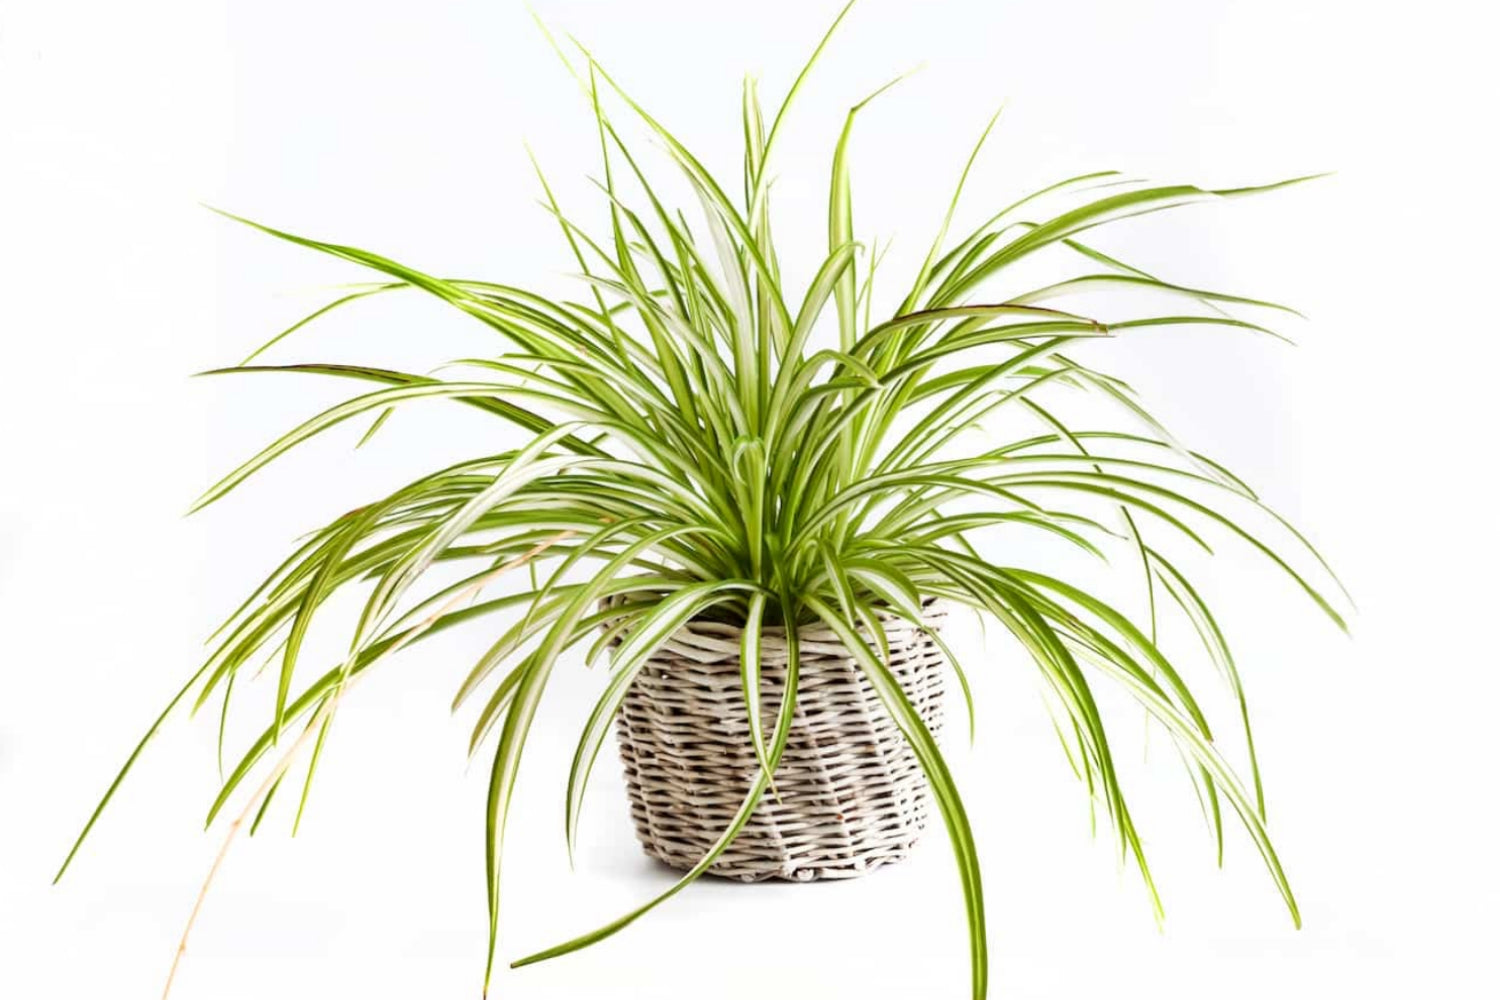
Spider plant care is considered easy. Still, this popular houseplant often raises questions: How often should a spider plant be watered? What is the ideal location? What to do about brown tips? This guide explains step by step how to keep your spider plant strong and avoid common care mistakes.
The spider plant, botanically Chlorophytum comosum, is one of the most robust houseplants. Its long, narrow leaves look decorative in hanging baskets, on sideboards, or in offices. With proper care, the plant thrives for many years and regularly produces new shoots and offsets.

Location: Where the spider plant thrives best
Proper spider plant care starts with the location. The plant prefers a bright spot without direct sunlight. Too much sun can burn the leaves and cause brown spots.
Light requirements and sunlight exposure
A semi-shady spot with indirect light is ideal. Green-leaved varieties tolerate low light better than variegated ones. However, if the location is permanently too dark, the plant loses its pattern and grows more slowly.
Ideal temperatures for Chlorophytum comosum
|
Season |
Temperature |
Note |
|
Spring & Summer |
18–24 °C |
normal room temperature |
|
Autumn & Winter |
12–18 °C |
slightly cooler promotes hardiness |
|
Lower limit |
not below 10 °C |
frost sensitive |
The spider plant prefers a balanced indoor climate. Very dry air, especially in winter, can cause brown leaf tips.
Watering spider plants: quality over quantity
Most care mistakes with spider plants occur during watering. The plant stores water in its roots and tolerates short dry periods well. However, waterlogging quickly causes damage.
When should spider plants be watered?
Don’t rely on a fixed schedule. Instead, check:
-
Is the top layer of soil dry?
-
Does the pot feel noticeably lighter?
-
Do the leaves appear slightly limp?
Only then should the spider plant be watered. Make sure excess water can drain away. A pot with a drainage hole prevents waterlogging.
Common watering mistakes
-
Watering too often despite moist soil
-
Leaving water standing in the saucer
-
Permanently wet substrate
Waterlogging often leads to yellow leaves or root rot. Too little water causes dry leaf tips. Balanced care means watering regularly but moderately.
In very dry indoor air, you can occasionally spray the plant. This prevents brown tips.

Repotting spider plants: when is it necessary?
You should repot your spider plant every two to three years. At the latest when:
-
roots grow out of the pot
-
the plant noticeably increases in size
-
the substrate is heavily compacted
The best time is spring. Choose a container about five centimeters larger than the previous one.
The right substrate
For optimal spider plant care, use loose, nutrient-rich green plant and palm soil. Good drainage is important. A thin layer of expanded clay at the bottom prevents waterlogging.
Repotting spider plants – step by step
Repotting spider plants – step by step
-
Carefully remove the old pot and check the root ball.
-
Prepare a new container with a drainage layer (e.g., expanded clay).
-
Add some fresh soil.
-
Place the spider plant in the center.
-
Fill cavities with substrate.
-
Press the soil lightly, do not compact it too firmly.
-
Water evenly, but avoid waterlogging.
Optional for plants that are too large:
8. Carefully divide the root ball.
9. Place separated parts in their own pots: this is how new spider plants grow.
Propagate spider plants: simply use cuttings
Propagation is one of the easiest aspects of spider plant care. Chlorophytum comosum forms so-called plantlets on long flower stalks. These small young plants are already fully developed.
Propagating spider plants – here’s how to proceed
-
Wait until the cutting shows several small roots.
-
Cut the plantlet off the mother plant with a sharp knife.
-
Place the cutting in loose, slightly moist soil.
-
Keep the substrate evenly moist during the first few weeks.
Alternatively, you can first place the cutting in a glass of water. Once strong roots have formed, it is potted.
Safer method: Let it root first
The following method is particularly reliable:
First leave the cutting on the mother plant, but already place it in its own pot with soil. Once it has taken root, separate it completely. This minimizes the risk that the young plant will not take root.
When is the best time?
Propagation is best in spring or early summer. During this growth phase, spider plants develop particularly strong roots and new shoots.
With this method, you can easily propagate several new spider plants from a single plant.

Fertilizing spider plants: targeted nutrient use
To ensure Chlorophytum comosum grows vigorously and produces new shoots, regular fertilizing is important.
Period & rhythm
-
March to October: use liquid fertilizer for green plants every two weeks.
-
Apply fertilizer with the watering.
-
Consistent supply promotes strong shoots and healthy growth.
Winter fertilization
-
November to February: significantly reduced need.
-
Fertilize lightly every four to six weeks.
-
Be even more sparing in a cool location.
Signs of nutrient deficiency
-
Pale or lighter leaves.
-
Weak growth.
-
Thin, unstable shoots.
Observe dosage
-
Use suitable green plant fertilizer.
-
Follow dosage recommendations.
-
Avoid over-fertilizing, as this can cause root damage.

Common problems: causes & solutions
Problems can occur even with good spider plant care. The key is to quickly identify the causes.
Brown tips or brown leaf tips
Common causes of brown leaf tips are:
-
Too dry air
-
Irregular watering
-
Direct sunlight
-
Waterlogging
Solution: Check the location, water evenly, and occasionally mist if the air is dry. The brown tips can be carefully trimmed without cutting into healthy tissue.
Yellow leaves
Yellow leaves often result from too much water or too little light. Check the substrate. If it remains constantly moist, the plant should be repotted.
Pests and infestation
Occasionally, the spider plant is infested by aphids or spider mites. Dry air promotes pests.
Measures in case of infestation:
-
Rinse the plant
-
Remove infested shoots
-
Increase humidity
In case of severe infestation, an appropriate remedy for indoor plant pests can be used.